Terrain
This page is a work in progress! Feedback is welcome.
If you haven't already, please read the previous part to this tutorial.
Contents
Create the Terrain object
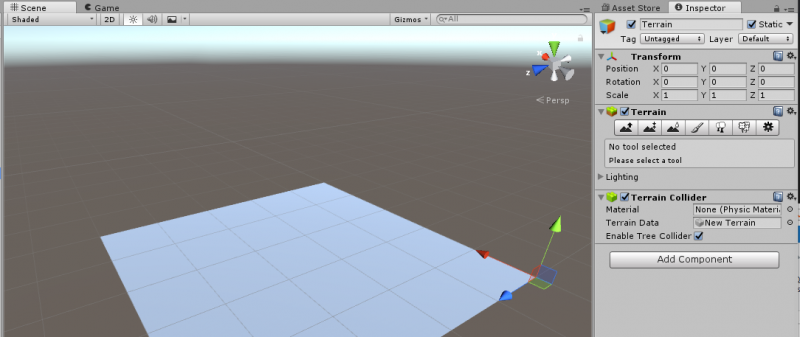
In the Game Object menu, Terrain is under 3d objects. Once you pick terrain, you should see a large blank plane appear, but when you select it, there are a lot of interesting options.
Editing Terrain
Hills and Valleys - Adjusting Terrain Height
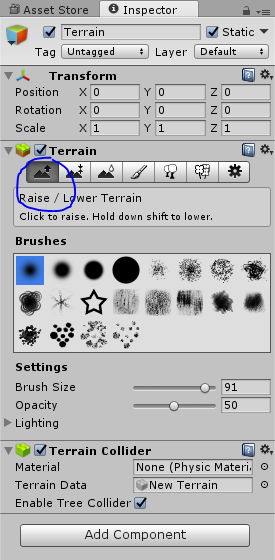
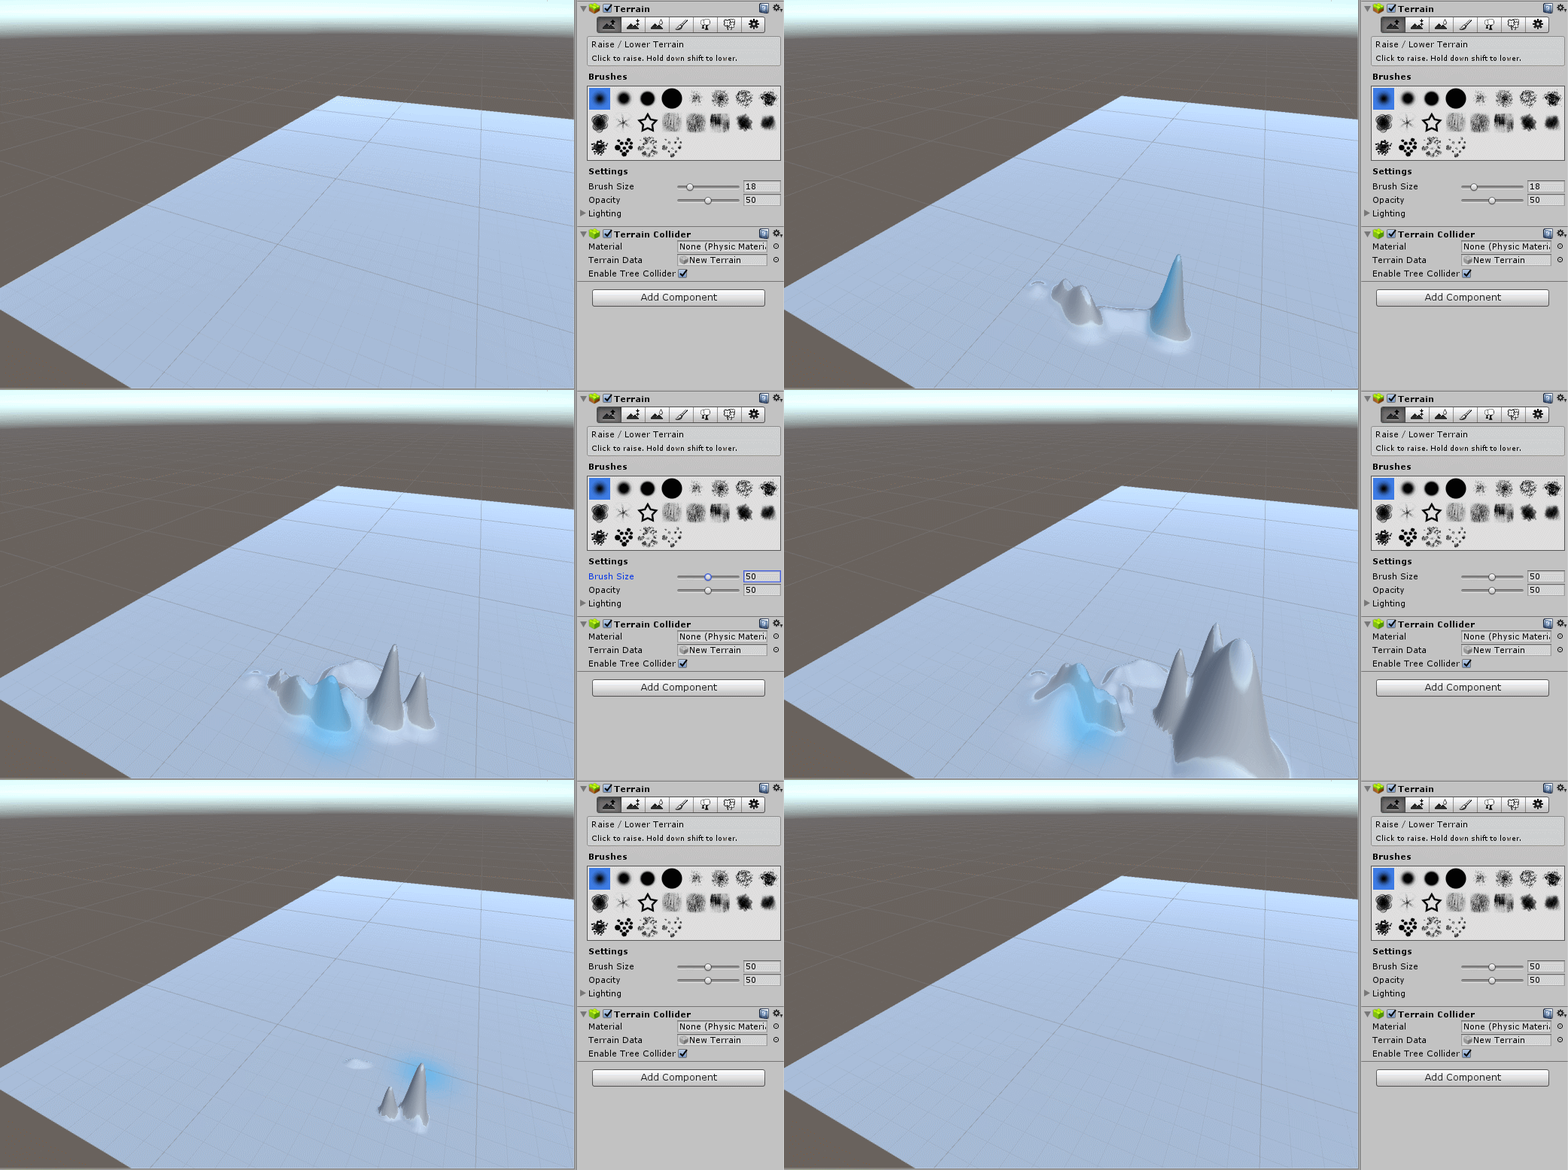 Select the terrain icon that has an up arrow, then click (or click and drag to make continuous formations) anywhere on the terrain plane to raise it at that point. pressing shift while clicking will lower that part of the terrain, though it won't go below the terrain's initial level.
Adding Texture to the Terrain
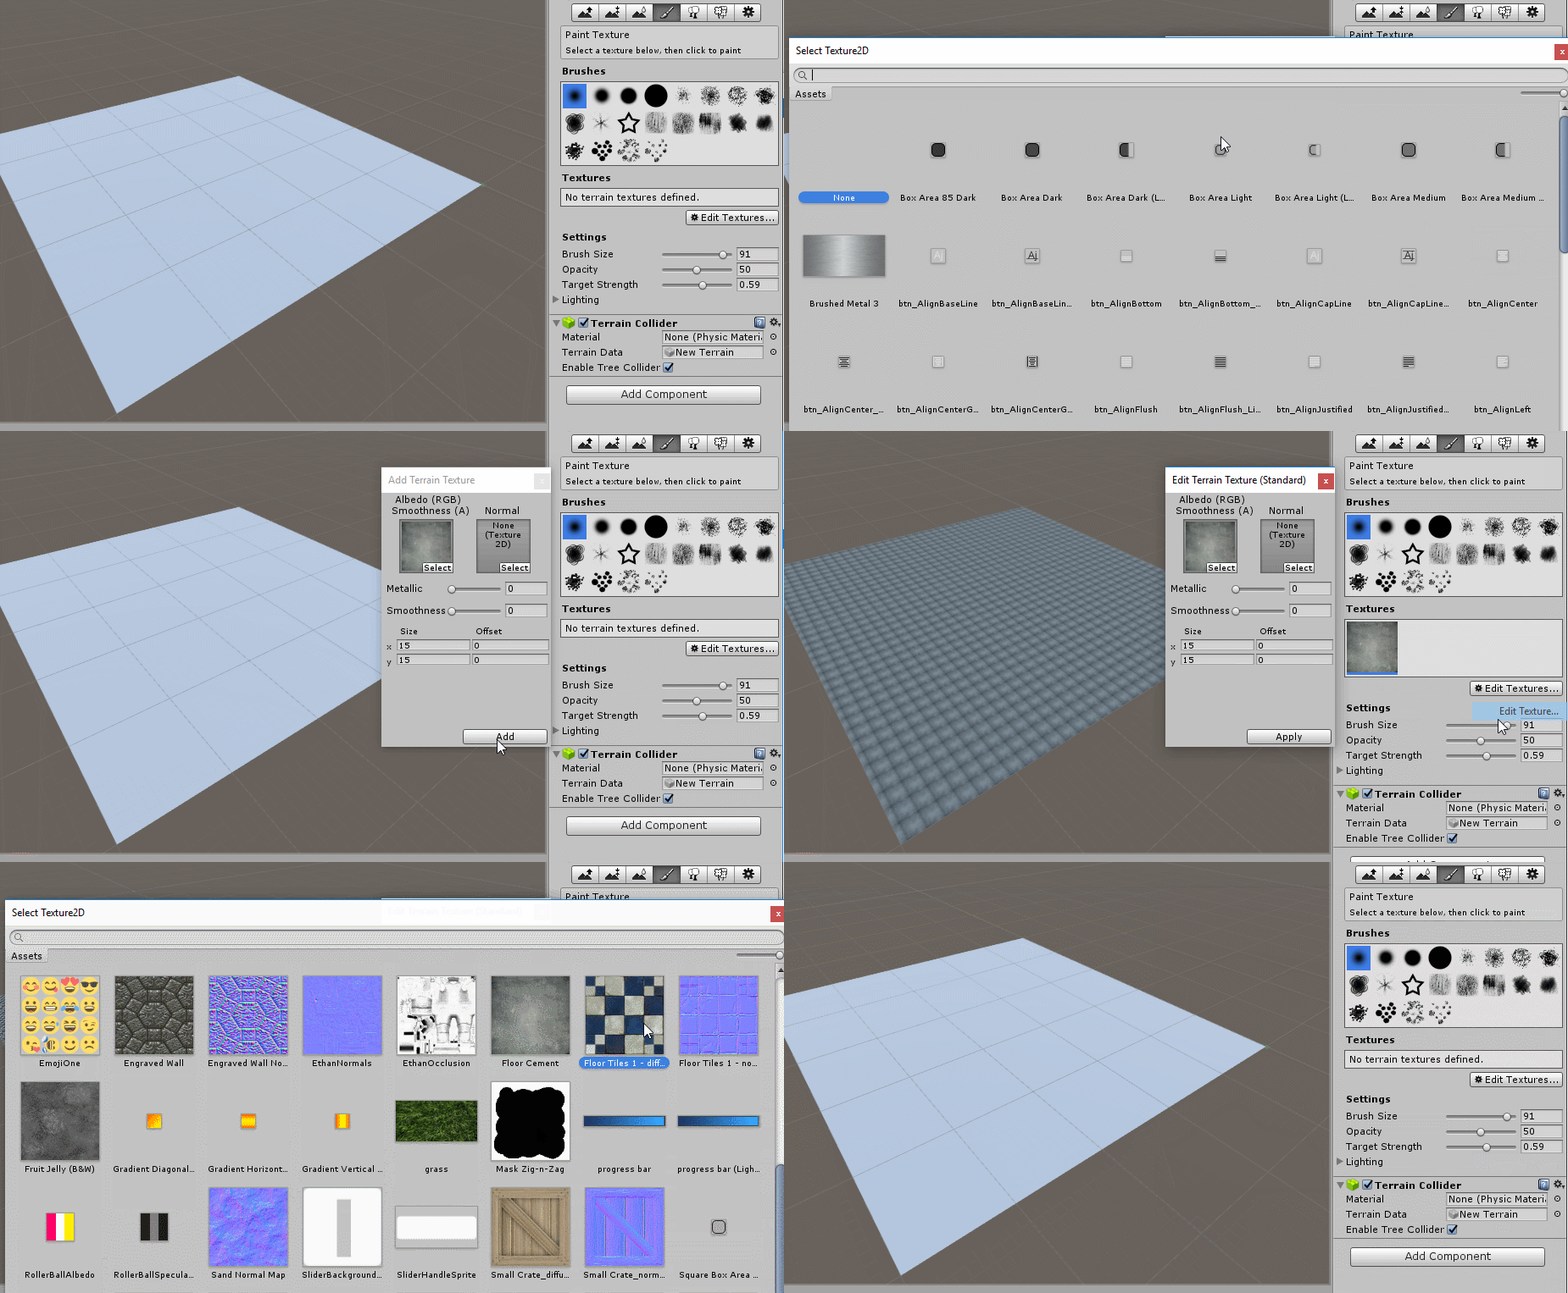
Pick the paintbrush icon from the terrain toolbar  .
.
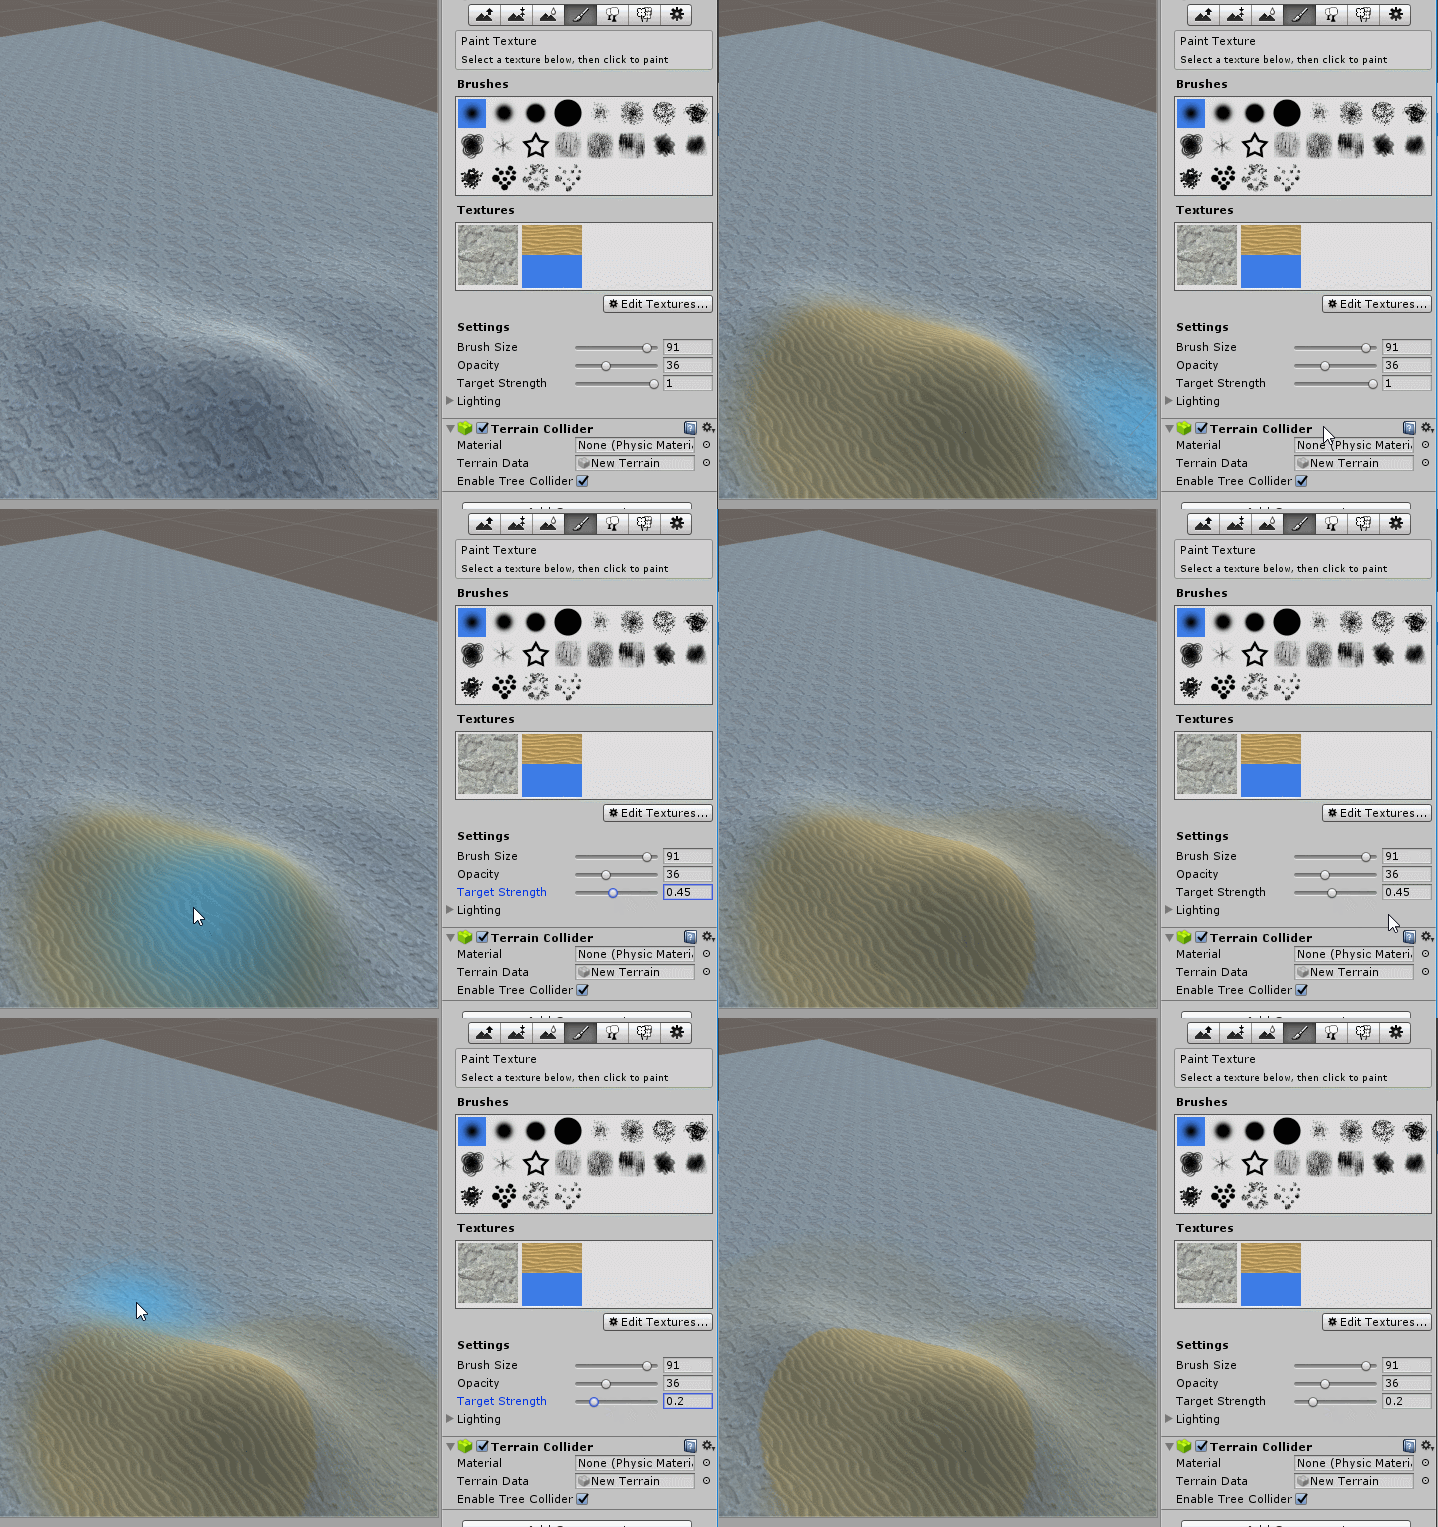
Add a texture to paint using with Edit Texture > Add Texture > Albedo (RGB) and Smoothness (A) > Select > and choosing a compatible image type for your terrain. Only textures that are in somewhere in your assets will show up, so import any images you'd like to use first. The first texture you add becomes the default for the entire terrain. If you add another texture aside from that first one, you can paint over the default with the newly chosen one.
Trees and Plants
In your Standard Assets folder you should already have another folder labeled 'Environment', but if you don't, import it now.
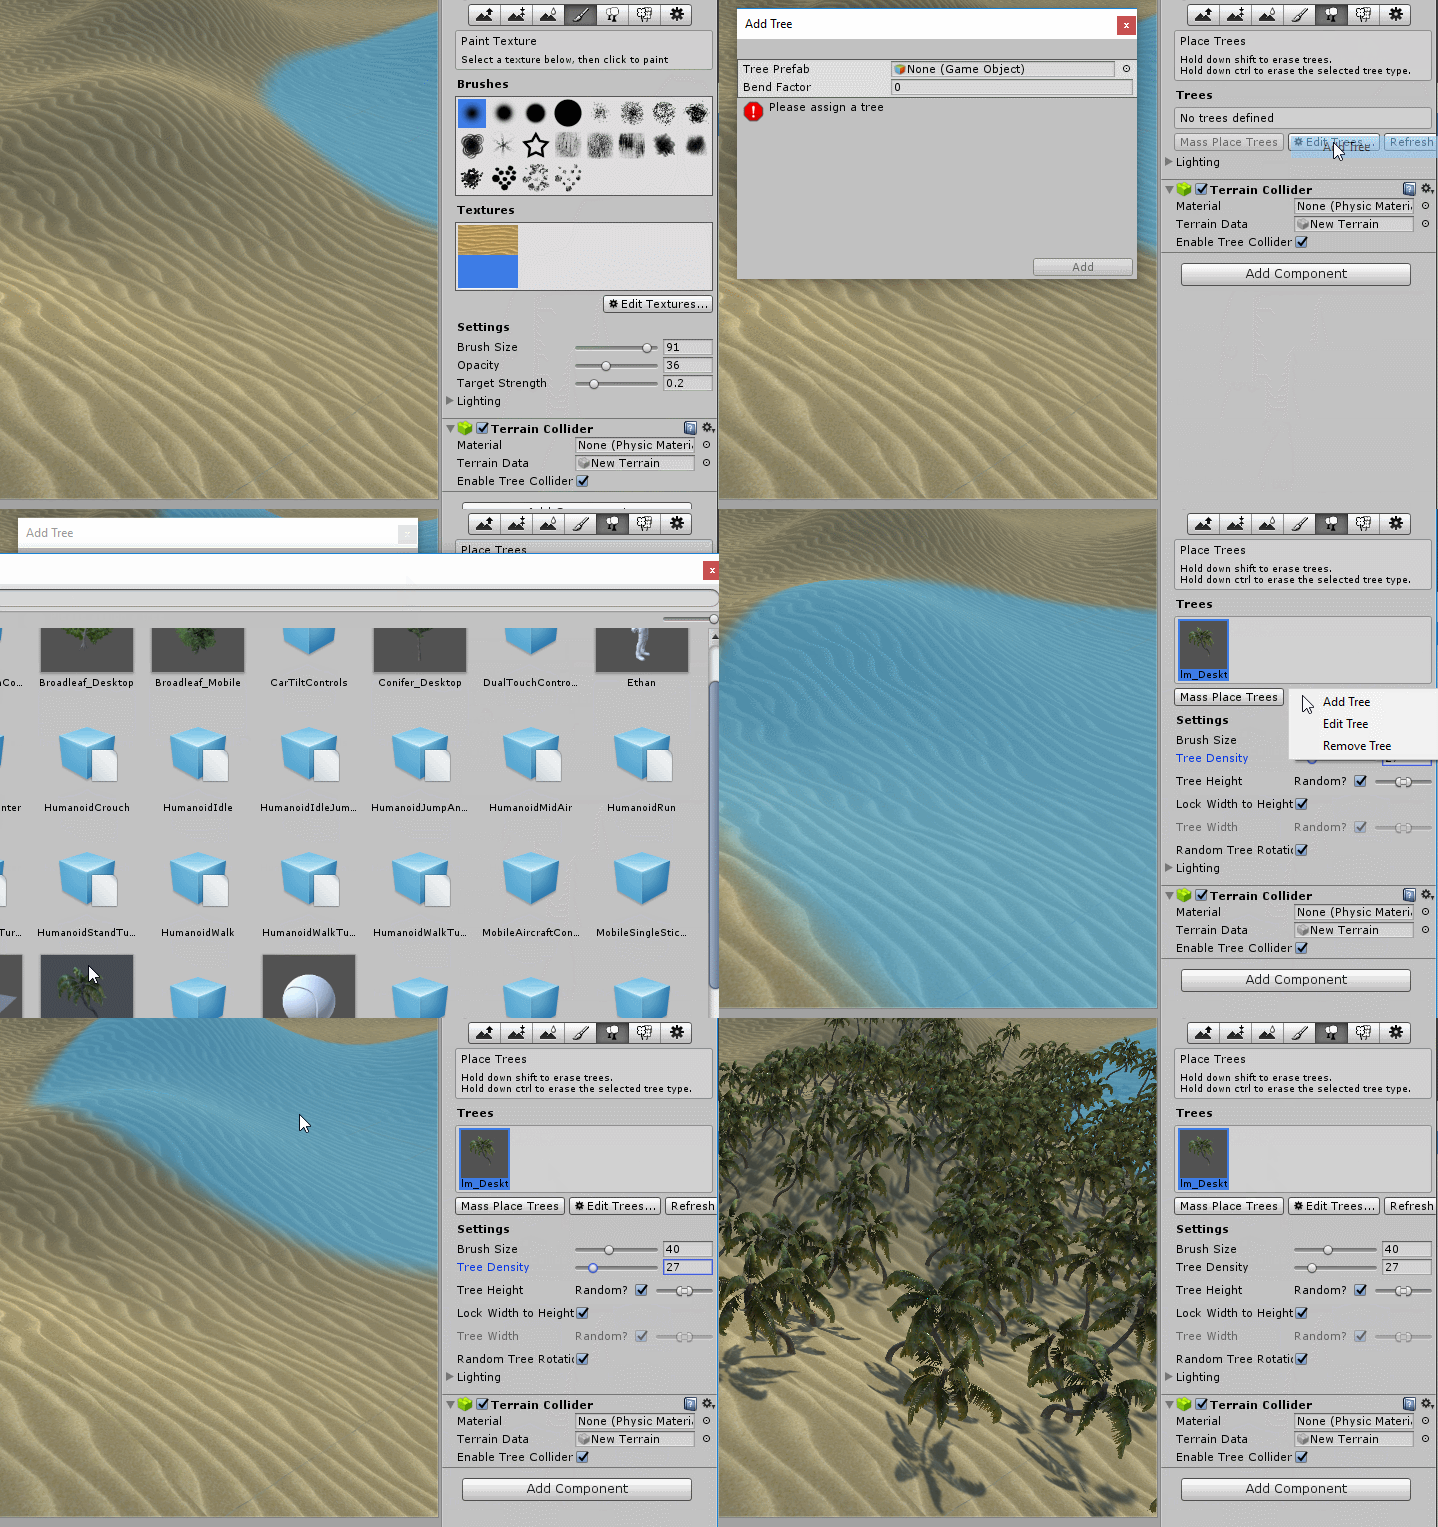
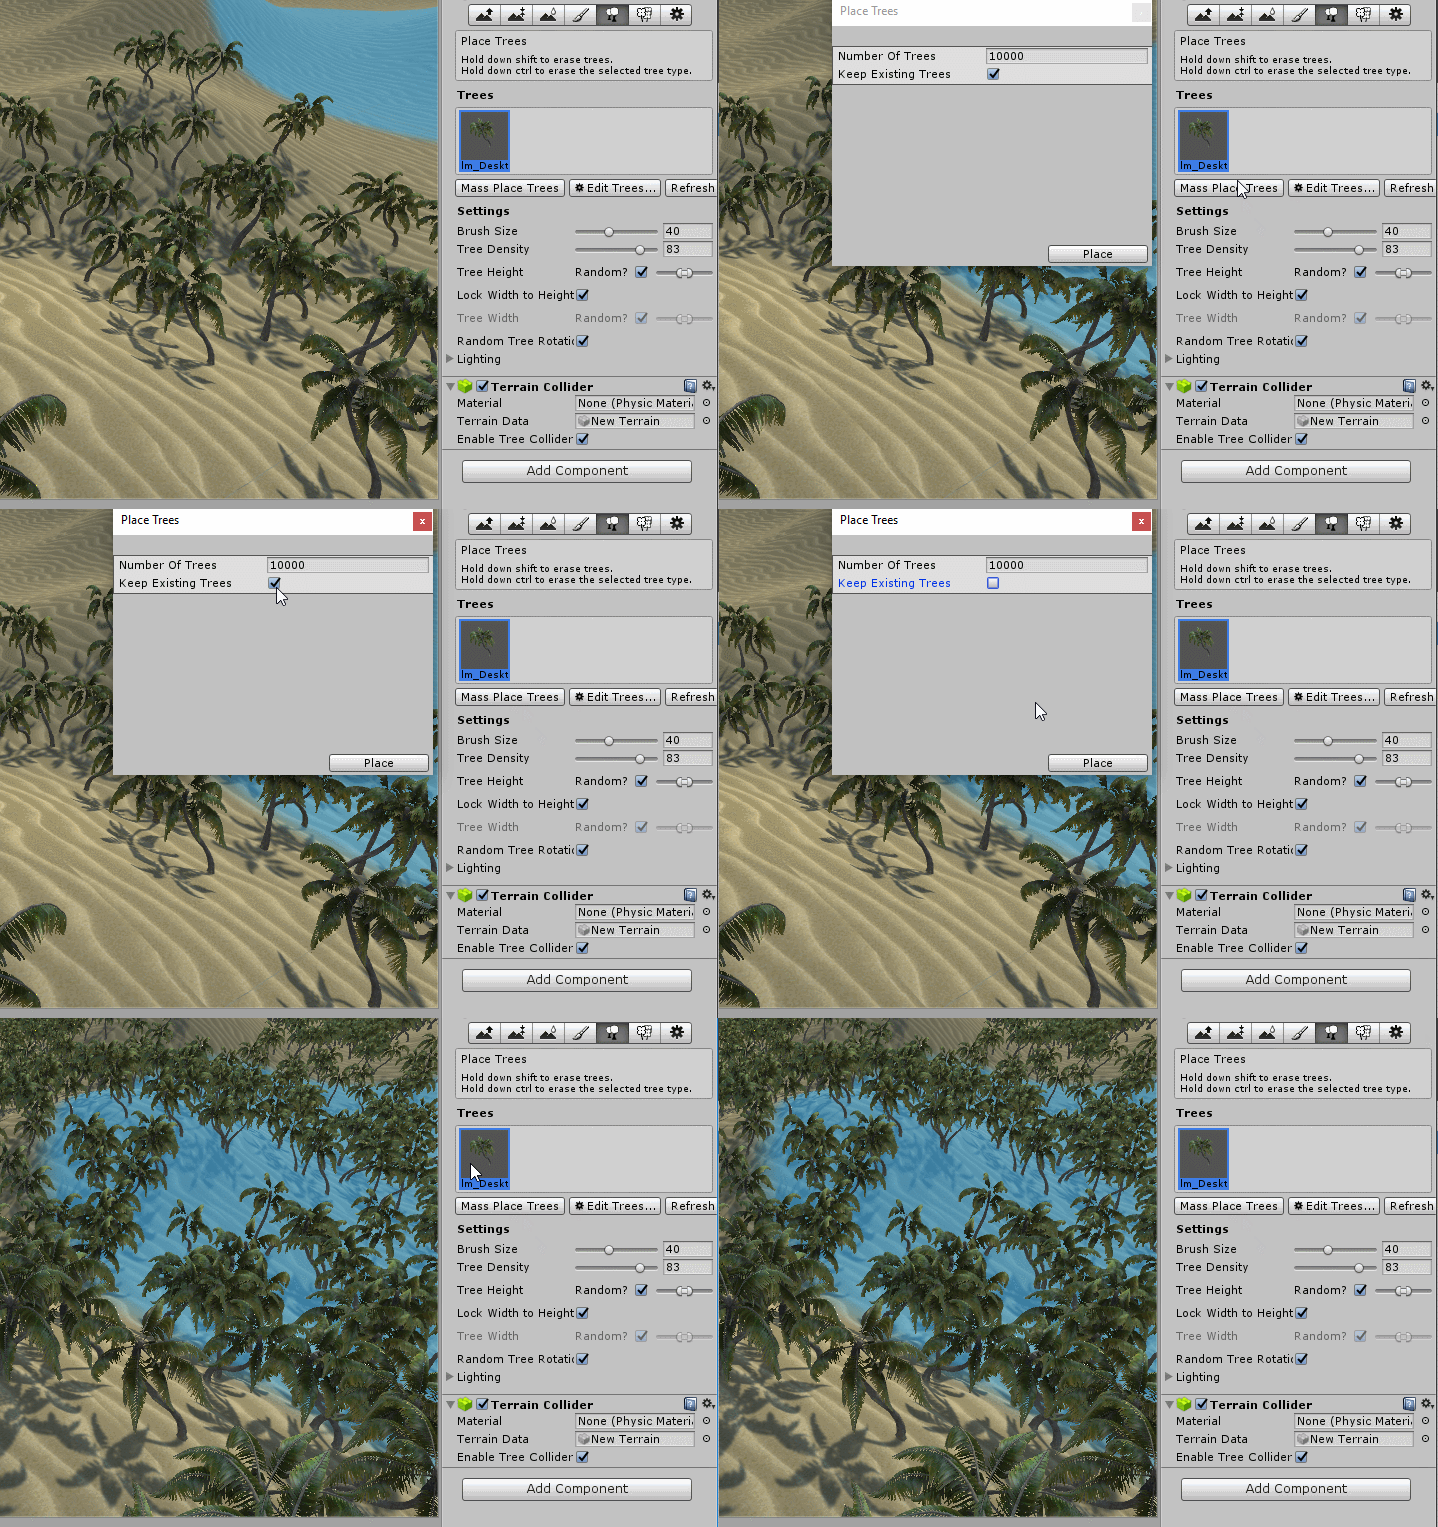
Using the brush to place trees: Brush size is how large the area you would like to paint with for 1 click, and Tree Density is how many trees will get placed in the circle when you click or move the mouse when you click and drag. Shift click to remove trees in the area you click with a radius of the chosen brush size.
Mass placement: Unity will try to place the given number of trees evenly across the entire terrain, with some randomness involved. Most of the time it's easier to do this and then delete trees in areas you don't want than to use the brush and try to manually distribute them in all the areas you want. (Trees won't be placed on areas that Unity determines to be too steep a hill for a tree)
Note for trees and Custom Trees:
You can use any of the trees Unity provides in the Environment folder of Standard Assets or find some different ones on the Asset Store. You can also make your own trees to use Unity's random leaf placement and height for trees. To do that, create a tree with GameObject > 3d Object > Tree, design the single tendril that appears as you want, and add it to the tree list to make more. You can also edit the trees given by Unity by dragging one into the scene and changing it.
Water
The water Unity gives by default in Environment is actually pretty good, and you can choose from several: the ones in Water > Water, Water> Water4, and Water > Water (Basic). For all of them the relevant objects are in a Prefabs folder. The first is reflective, transparent, and has small waves, and seems suited for small lakes or ponds or maybe puddles. The second is also reflective and transparent but has but much bigger waves, and seems suited for much larger bodies of water. It is also the most complex, and best looking, of these options. The last one (basic) is not reflective or transparent, this one should be used if you're targeting systems with less graphical power or framerate is getting bogged down too much already. Another issue with all of these is that the water is only one layer, so when you go under the water it doesn't really look... underwater, so keep that in mind. That problem can be fixed with some scripting, and this is something I will be talking about when the time comes.
Wind Zones
Wind zones can very easily help to make your world look less static and more lively by making the leaves on the trees (and particle systems) move around. One can be created by going to GameObject (or right-click in the hierarchy) > 3d Object > Wind Zone. Once a zone is placed it affects the whole scene by default, and this can be changed if you pick spherical to be its mode. Main affects the overall wind strength, while turbulence is what gives it a bit of variation in the wind patterns.
