Difference between revisions of "Terrain"
From __space Wiki
m (→Hills and Valleys - Adjusting Terrain Height) |
m (→Hills and Valleys - Adjusting Terrain Height) |
||
| Line 11: | Line 11: | ||
[[File:raiseTerrain.png]] | [[File:raiseTerrain.png]] | ||
[[File:terrainHeight.gif]] | [[File:terrainHeight.gif]] | ||
| − | Select the terrain icon that has an up arrow, then click anywhere on the terrain plane to raise it at that point. pressing shift while clicking will lower that part of the terrain, | + | Select the terrain icon that has an up arrow, then click (or click and drag to make continuous formations) anywhere on the terrain plane to raise it at that point. pressing shift while clicking will lower that part of the terrain, though it won't go below the terrain's initial level. |
=Trees and Plants= | =Trees and Plants= | ||
=Wind Zones= | =Wind Zones= | ||
Revision as of 13:24, 15 May 2017
This page is a work in progress! Feedback is welcome.
If you haven't already, please read the previous part to this tutorial.
Contents
Create the Terrain object
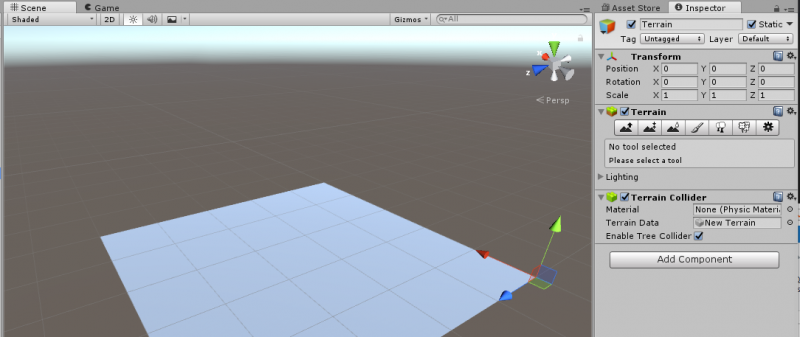
In the Game Object menu, Terrain is under 3d objects. Once you pick terrain, you should see a large blank plane appear, but when you select it, there are a lot of interesting options.
Editing Terrain
Hills and Valleys - Adjusting Terrain Height

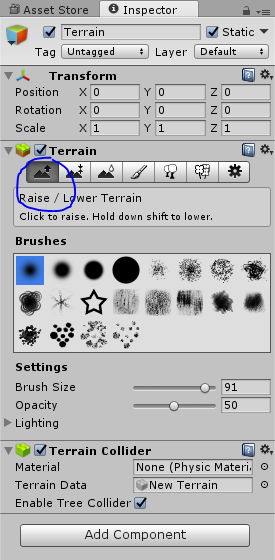
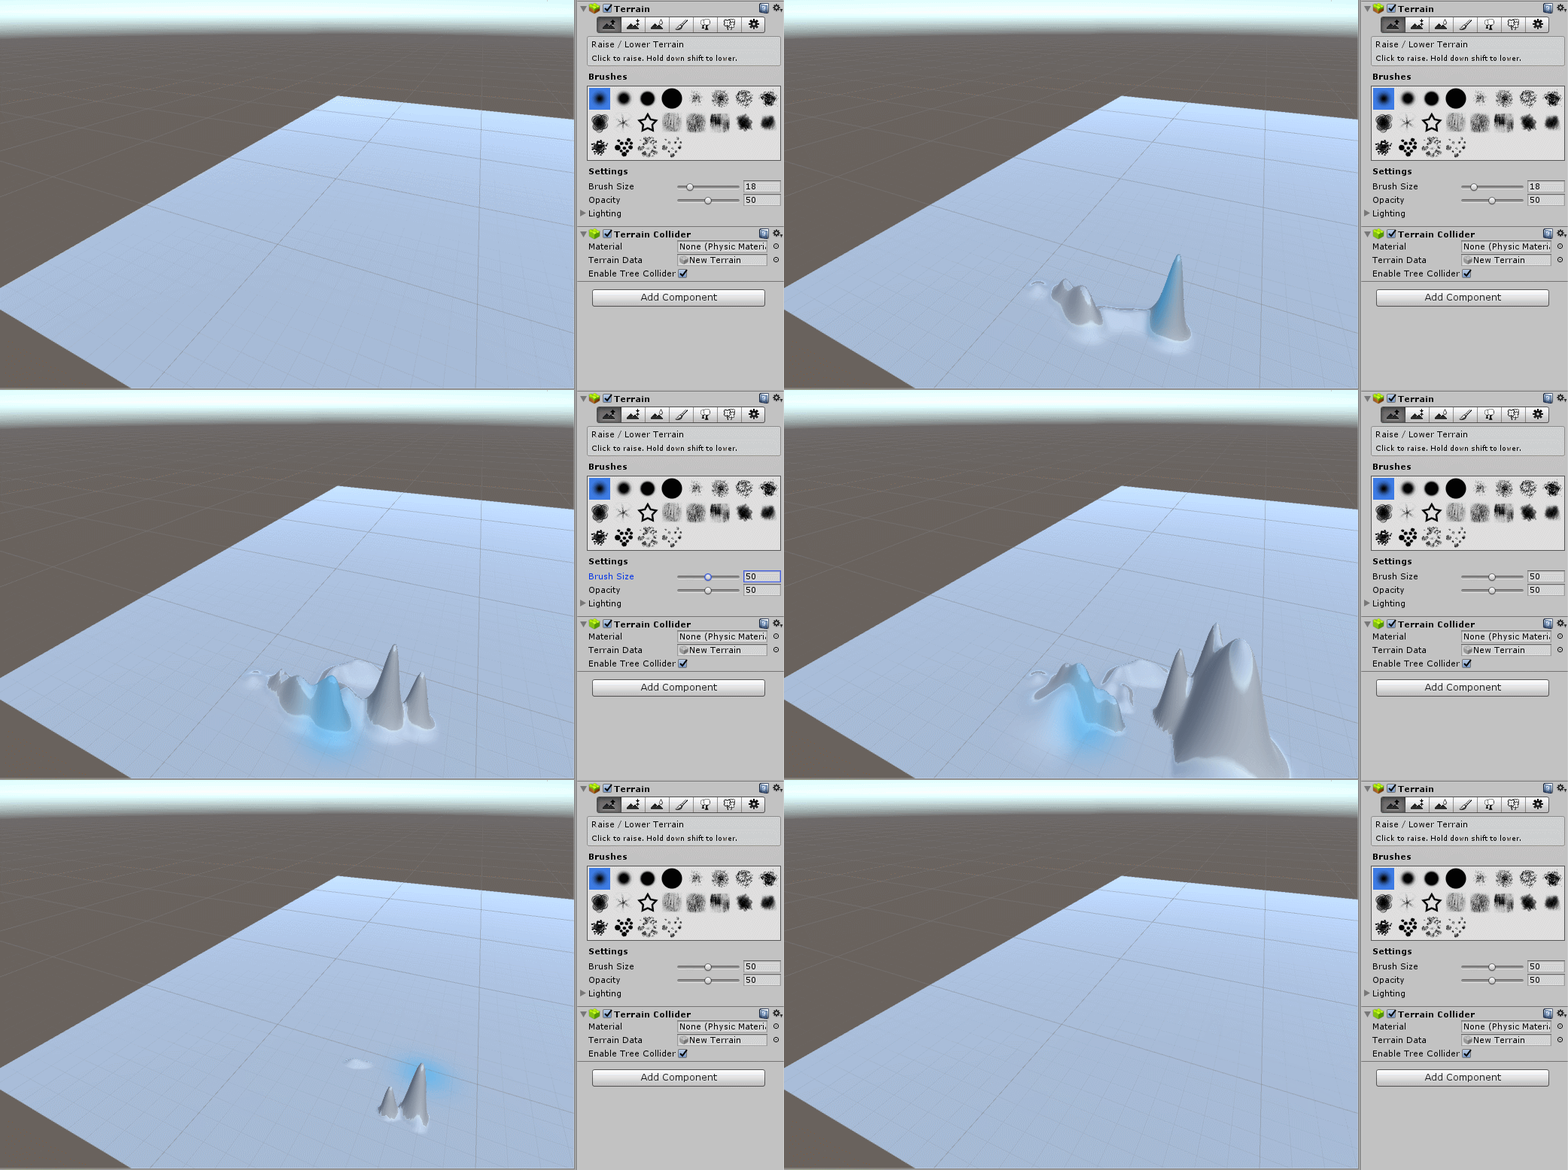
 Select the terrain icon that has an up arrow, then click (or click and drag to make continuous formations) anywhere on the terrain plane to raise it at that point. pressing shift while clicking will lower that part of the terrain, though it won't go below the terrain's initial level.
